

Welcome all to the day 2 of the

12 Days of Christmas Series!
Today I have April from

She'll show us how to make Paper Stars today!
Take it away April!

Hey Crafties,
It's April here from StampinFool.com and I am so excited to be a guest on CraftAllieBlog today helping count down the 12 Day of Christmas, woot woot! I'm a paper crafting fool from Williamsburg, VA, married and have a 3 year old son, Silas.
Let me tell you, I LOVE paper (I abandon housework just to get in a little crafting time). I know it's bad. But here's the good news, YOU get the benefit of my crafting addiction today.
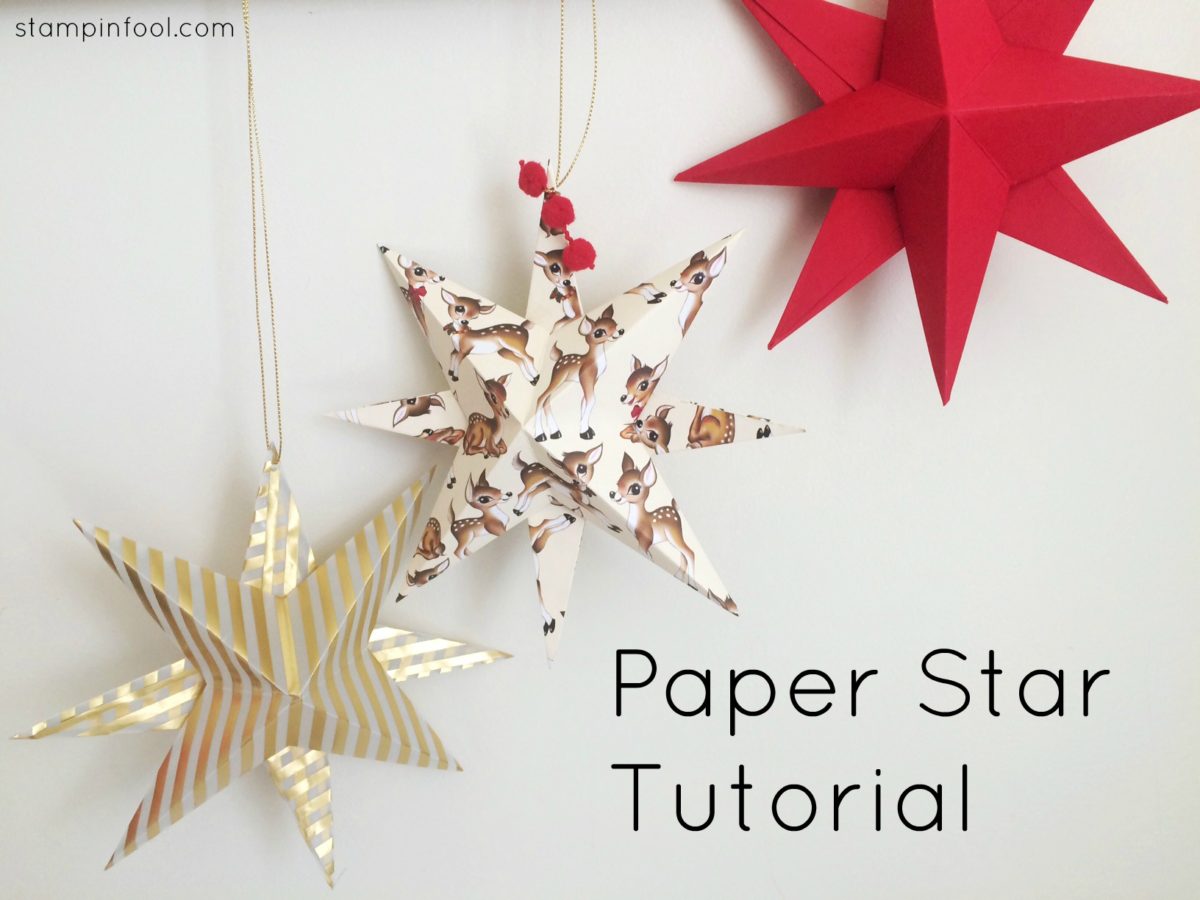
I have this amazing, elegant star ornament that I am going to teach you how to make. I have a photo tutorial, directions, and even a little video to show you how to put it together. The finished star is approximately 6" x 6", so it's no tiny ornament.
It is the perfect handmade gift for your coworkers, friends, neighbors, and even grandma. It is quick an d easy enough that you can make many to gift and a few to keep. You can customize this beauty with whichever patterned paper you choose. So grab your supplies and get ready to make an Eight Point Star Ornament.
Supplies:
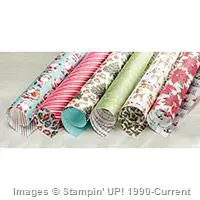
- Home for Christmas Patterned Paper
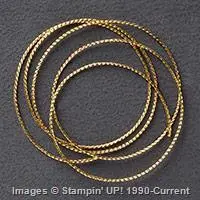
- Gold Cording
- Red Pom Pom trim
- Scissors
- Liquid Glue/Crystal Effects
- 1/16" Hole Punch
- Bone Folder
- Paper Trimmer
- Cut your Patterned Paper into two (2) 6"x 6" pieces.
- Fold in half both directions. Fold diagonal in both directions. You now have four folds. *Tip: Use a bone folder to create crisp fold lines.
- On the straight edge folds, cut a line 1 1/4" up towards the center on all four sides.
- Begin folding each slit inward to the diagonal score line, so that the corners form a point. Repeat on all slits (8 folds).
- Once all corners are folded, lightly fluff the flaps. Using liquid glue on one side of each corner triangle (I love crystal effects for this- it's strong and dries quickly), fully overlap the triangle fold onto the one next to it in that corner, forming a 3D cone. Here would be a good place to watch the video, as it is easier to show than write. Repeat with the next 3 corners. You will now have a 3D star with a hole in the back middle.
- Repeat steps 2-5 with the second 6" x 6" square of patterned paper.
- Apply glue to the back "V's" of one star and hold the other star diagonal to it and adhere.
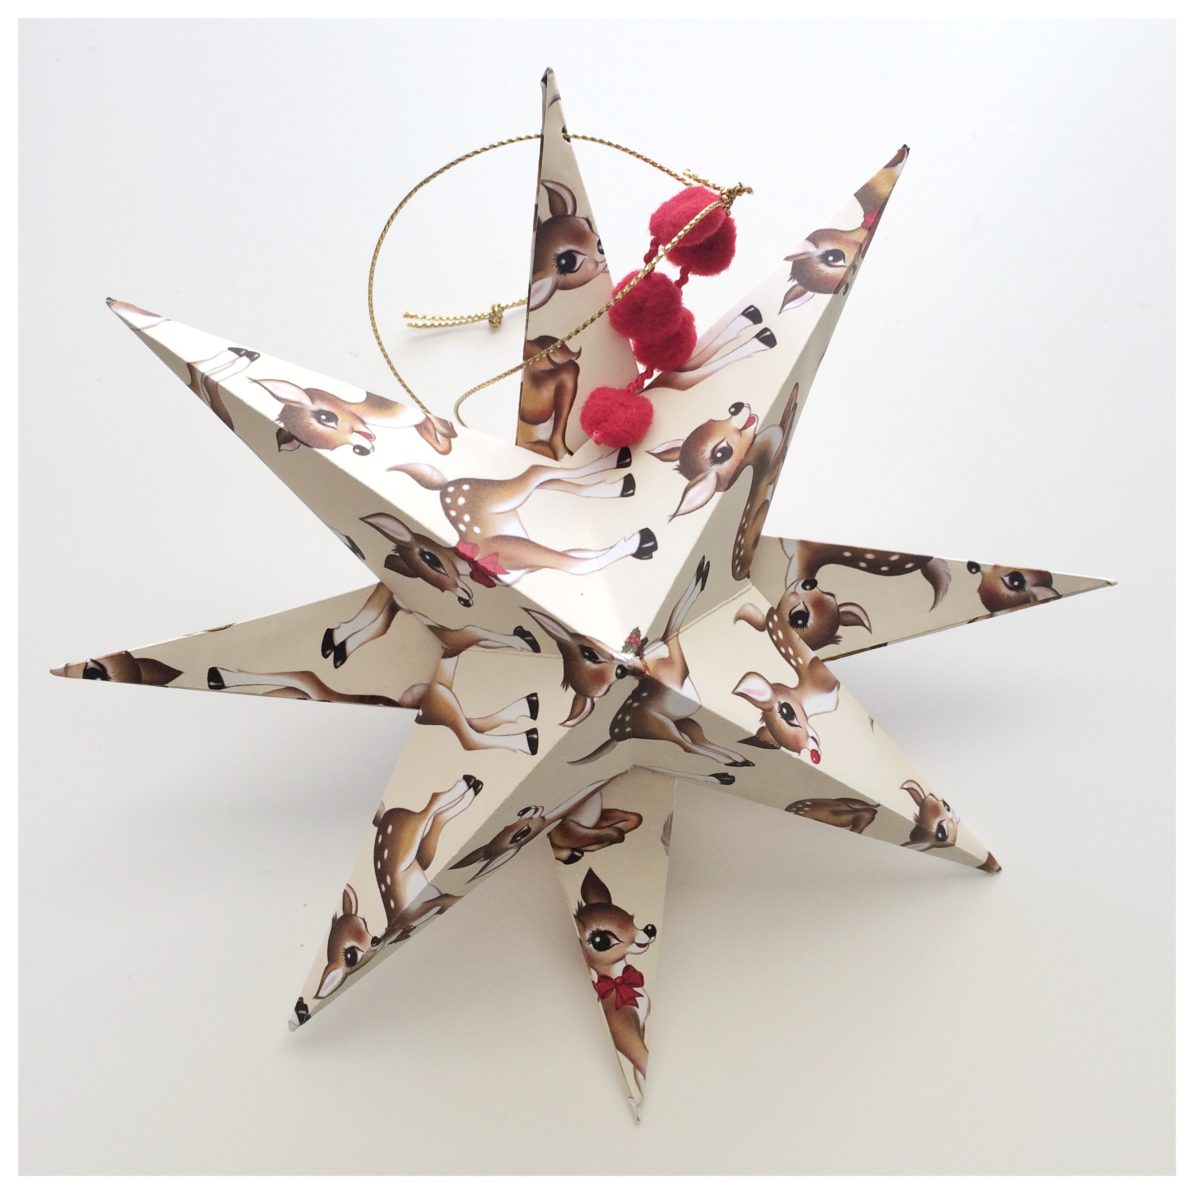
- Using the 1/16" hole punch, punch a hole in the tip of the top point, string twine thought the hole and tie into a knot. Embellish with Red Pompom trim.
- Enjoy!
 Here is a close up of the finished star ornament! I love how adorable those deer are.
What do you think? Do you love it as much as I do? Comment below and show us some love.
Here is a shortcut to my supply list:


Thank you so much April, I love that you have a video too! I have to make some of these now!
And thank you all for tuning in today! Until tomorrow...

I think I could actually make these without totally stuffing them up. Pinning!
ReplyDelete