UA-59651954-28 Crafty Allie: March 2015

Tuesday, March 31, 2015

Worthwhile Wednesdays #62


Welcome, Welcome all to the 62nd
Worthwhile Wednesdays Link Party!

Thank you so much for partying with me!

Monday, March 30, 2015

Chicken Fried Steak


Yes, guilty as charged! 
Little Ms. Crafty Allie, hasn't been so crafty lately.

Actually I have been crafty with tons of knitting orders, but sadly have't been able to do other crafts and post them.
But I am working a little something, and will hopefully be able to finish it up and post that by Thursday. Cross your fingers for me.

Anyway, I do always cook, and today I thought, hmm I know I haven't posted my chicken-fried steak recipe.

Why not let you all in on my yummy secret!

It's really quite simple...

Yep, those are the ingredients, plus your chuck steak.

First , add your vegetable oil to your pan about 1/3 full, and set at 7 (between medium and high).

Then, whisk 3 eggs until scrambled.

In another bowl add 1 1/2 cups of bisquick and 1 cup of Italian Style Bread Crumbs, and some a dash of salt.

Mix together with your hands, or a fork or spoon if you wish.

Then add your heavily tenderized chuck steak to the eggs, and then dip into the batter mix.


Get your hands down in it and make sure that batter is all over your steak.

You can also do this in a paper sack however, I don't ever seem to get a good enough coverage.

Cook about two at a time, and keep a close eye on them so they don't burn. Flip on other side after about 4 minutes. It should only take about 7-8 minutes to cook two at time.

Make some yummy white peppered gravy and add it to the top if you so desire.

And Enjoy!


Thanks so much for tuning in!
Until Next Time...


Tuesday, March 24, 2015

Worthwhile Wednesdays #61


Welcome, Welcome all to the 61st
Worthwhile Wednesdays Link Party!

Thank you so much for partying with me!

Monday, March 23, 2015

Chicken Fajita Quesadillas


I love making meals with left over chicken. In fact when I make chicken breasts, I always buy and make  extras just so I can make another fabulous dish.

One of my favorites is chicken quesadillas. I've posted another quesadilla recipe before, but recently I make them even better!

With yummy bell peppers, and onions!

I like to buy my flour tortillas fresh from a Mexican market we have near by. For the same price or sometimes cheaper, they taste so much better as they are baked that same day. They also don't have all the preservatives that the brand names have.

Chop your bell peppers and onions 
and add a little olive oil.

Sautee until golden brown.


Chop your cooked chicken and add your cheese, chicken, peppers and onions to your tortillas,


 Throw it in the pan with a little bit of olive oil, and throw a tortilla on top.


Flip 

and Enjoy!


Some fresh pico de gallo and guacamole 
makes it taste
even more heavenly!


Thanks so much for tuning in!
Until Next time...

Sunday, March 22, 2015

Redecorate Your Porch with a DIY Rug


Good Morning All! 
I hope you're having a wonderful Monday!

Today I am so honored to have 
Merri from

Take it away Merri!

Who doesn't like to relax on the back porch at the end of a long work week, or entertain family and friends on a Sunday afternoon? Our back porches are an extension of our homes. When the weather is warm, my family spends as much time on our porch as we can.
The furniture of choice for an outdoor room is made of traditional wicker and rattan or all-weather resin wicker. Most furniture is available in neutral tones, with cushions in a variety of patterns and colors.
Another way to add color and personality to your porch is to incorporate an area rug. If you can't find one that matches your décor perfectly, make your own.

We repainted our exterior doors in a bright raspberry. So, I decided to use the same color in an area rug for my back porch. In interior design, repeating an accent color in several areas pulls the whole room together.


I painted a 24 x 36 in. sample rug. It's perfect for the back door, and I love how it turned out, so I'll probably make a much bigger one.
Choose an indoor-outdoor rug-one with a dense loop pile is easier to paint.


I decided on a chevron pattern. It's a graphic, zig-zag design that's relatively easy to reproduce. It's been around for centuries and has been an important design trend in the past several years.
To make your pattern, you will also need:

  • Cardboard
  • A 90° triangle
  • X-Acto knife or craft knife
  • Cutting board

You will also need:

  • Duct tape
  • 3 in. paint roller
  • Flat head stencil brush
  • Paint


There's no math involved in this method! I decided on an 8 in. chevron pattern because I had an 8 in. triangle. Trace the shape of the triangle on the cardboard and repeat until you get a pattern the same width as the rug.

Since duct tape is 1-7/8 in. wide, I cut out a 1-7/8 in pattern.


Mark the center of the rug with tape. Line up the original chevron pattern with the end of the rug. Use large paper clips to hold it in place.


Stick the duct tape to the rug along the edge of the 1 7/8 in. pattern. Repeat until the entire rug is covered. You will end up with an alternating duct tape, rug, duct tape, rug, etc. pattern.

Pour some paint on a tray. Roll paint on the brush, but don't saturate it. It's better to apply several coats to get a nice crisp edge than to try to do it too fast and make a mess. Roll from the tape toward the rug (not toward the tape). This will help avoid seepage under the tape.


I "rolled" two coats on my rug, and then finished with a flathead stencil brush to get the paint deep between the loops. Hold the stencil brush perpendicular to the rug and tap up and down. The number of coats of paint will depend on the fiber, texture and nap of the rug.

Once the paint is completely dry, remove the tape. You should end up with perfect, straight lines. Not only will it add color to your porch, but you can proudly say you did it yourself!


Merri Cvetan writes on home décor and design, for both inside and outside the house, for The Home Depot. An outdoor rug stenciling proj
ect like Merri's will be particularly inviting for DIY crafters as the warm weather finally begins to show up after winter's cold.


To view outdoor rugs available for your stenciling project, you can visit Home Depot's Home Decorators outdoor rug selection.

Thank You So much Merri for coming on today, and I love the rug, so doing this now!


And thank you all for tuning in!
Until Next Time...

Tuesday, March 17, 2015

Worthwhile Wednesdays #60


Welcome, Welcome all to the 60th
Worthwhile Wednesdays Link Party!

Thank you so much for partying with me!

Monday, March 16, 2015

DIY Metallic Desk Accessories

Well Hello and Happy Monday!

Today, I am honored to have Colleen from 


Take it away Colleen!


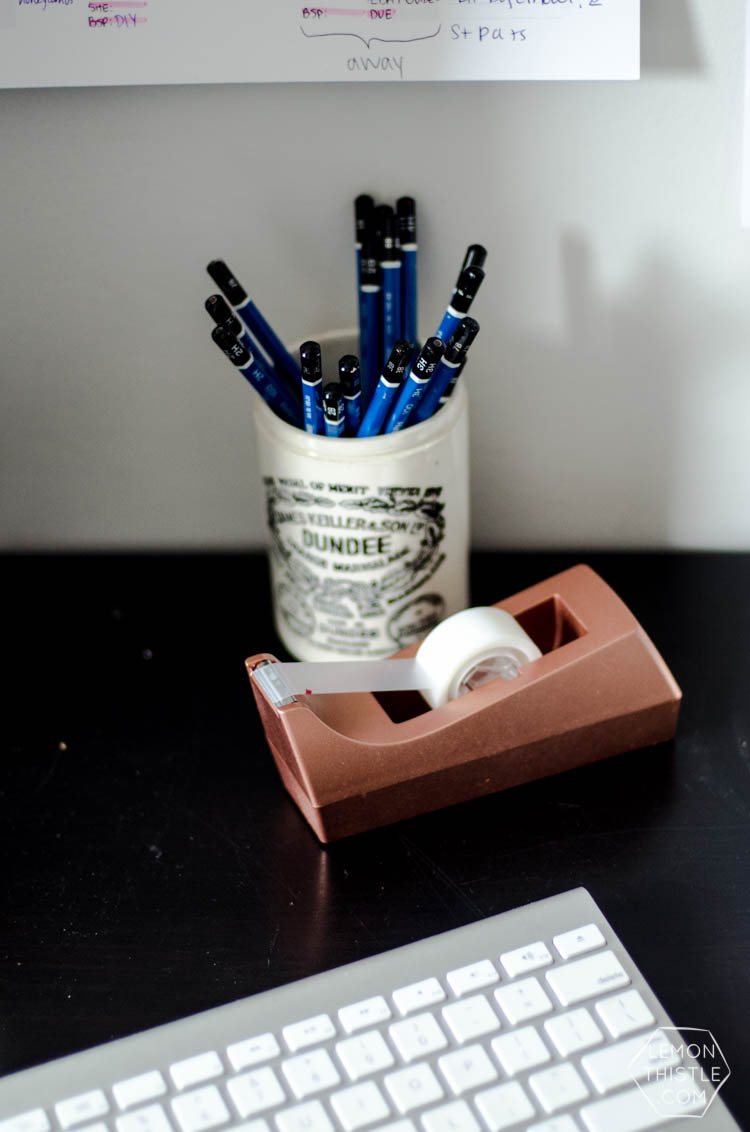
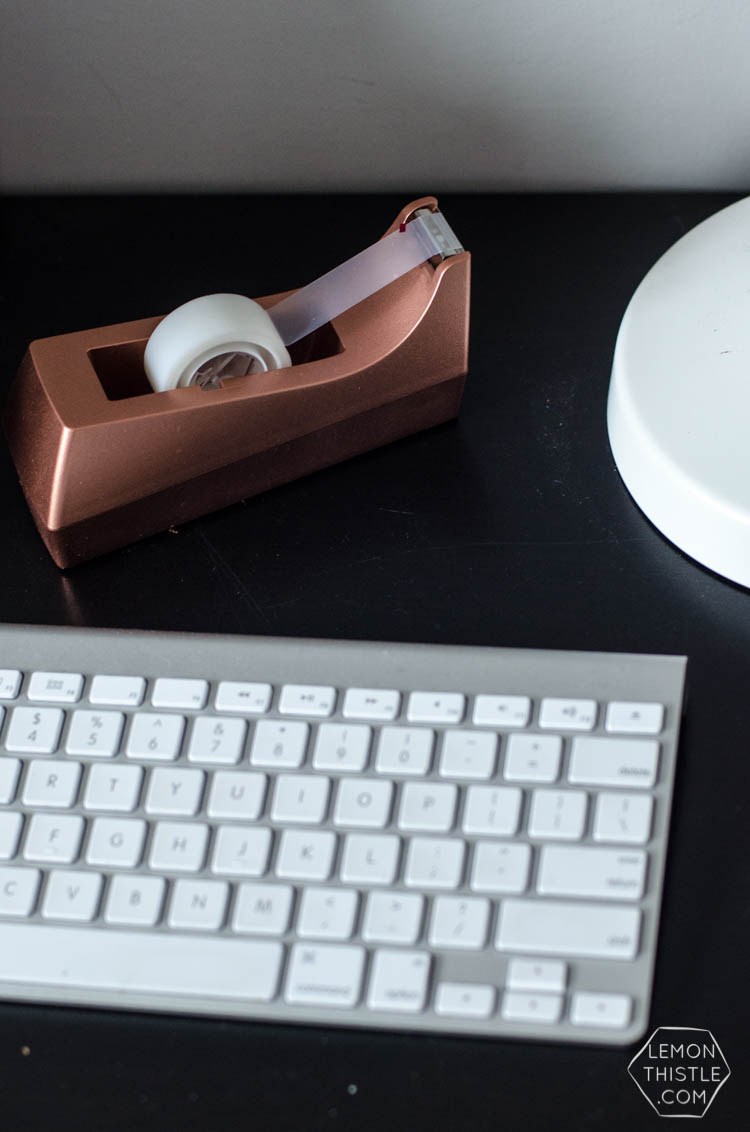
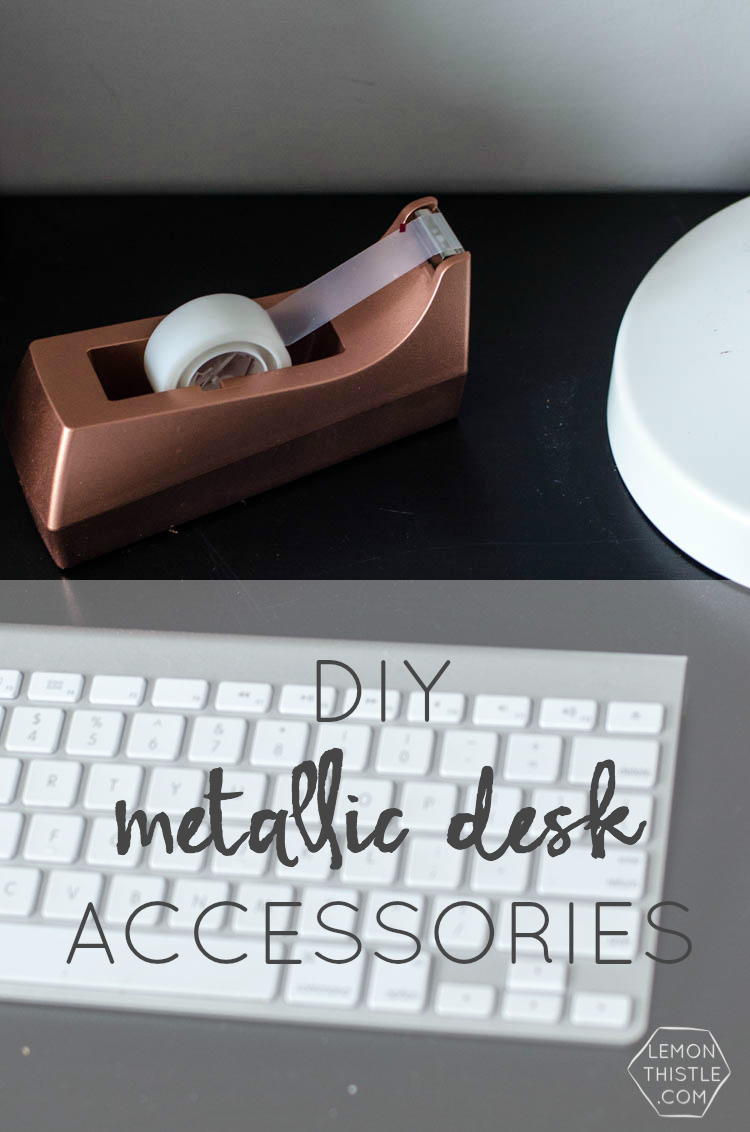
Hello Crafty Allie readers! My name is Colleen, I'm the DIY and Lifestyle blogger behind Lemon Thistle (home to DIY, Parties, Home Decor, Printables and Babies). I'm so happy to be here sharing how to DIY some metallic desk accessories to dress up your work space. I'm completely in love with my copper tape dispenser now. I never knew I could love something that just holds plain boring tape so darn much. But I do. And it fits so well in my new work space, I almost feel silly how pleased I am with this little guy!

DIY Metallic Desk Accessories- I love this copper tape dispenser!


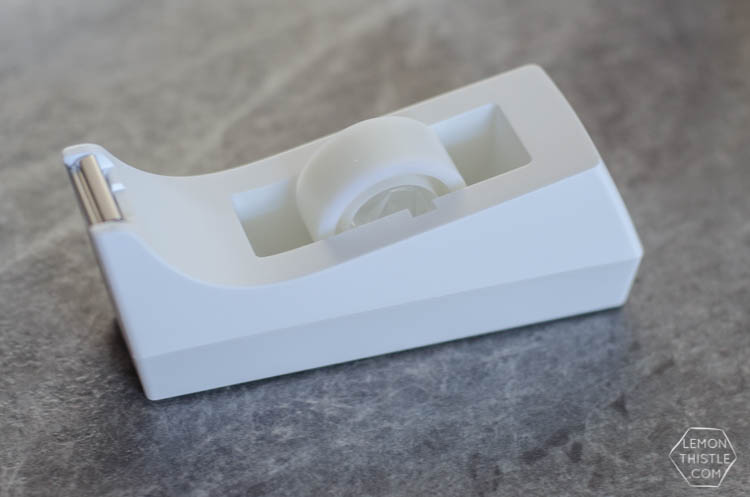
This tape dispenser actually has a bit of a funny story. I couple weeks ago, I answered the phone and my sister-in-law (the only person I personally know who loves to DIY things as much as I do) started ranting that there were no nice tape dispensers in this world. I'd never thought about it before- I always just hid it in my desk drawers. She'd been all over town looking and found nothing. She told me she was standing in the aisle at Target looking at these plain white ones and wishes they came in better colours. 'The shape is awesome, but they're so boring!'. Then she asked if I'd spray paint one for her. And if I did, she'd buy me one too. Sold! After much ribbing from her hubby ('who does things like this!?'), and a few hours of waiting for paint to dry- I have this gorgeous new tape dispenser! DIY Metallic Desk Accessories- I love this copper tape dispenser!


And it's much too pretty to relegate to the drawer, so here it sits. I guess it goes to show that you can make pretty much anything look awesome with a bit of spray paint. If you haven't picked up on the steps, here's the play by play. You'll need one tape dispenser, painters tape, spray paint.

DIY Metallic Desk Accessories- I love this copper tape dispenser!


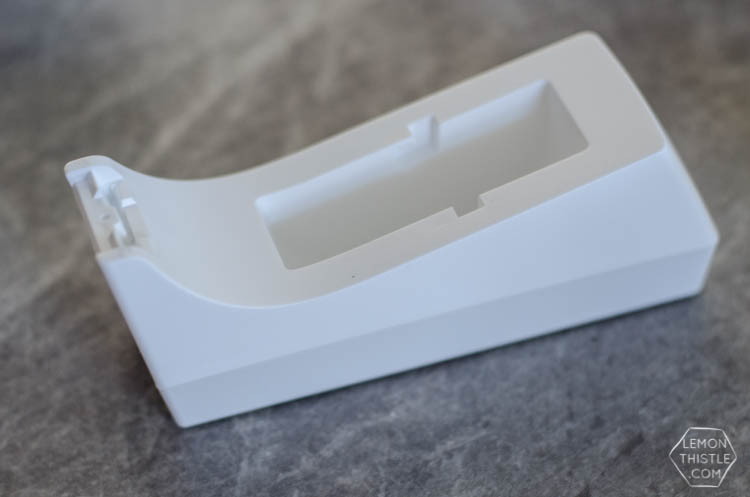
Start by either removing the pieces you'd like to keep from being coloured or carefully protecting them from the paint with tape. For me that meant the clear plastic wheel that the tape sits on and the metal cutting edge.

DIY Metallic Desk Accessories- I love this copper tape dispenser! DIY Metallic Desk Accessories- I love this copper tape dispenser!

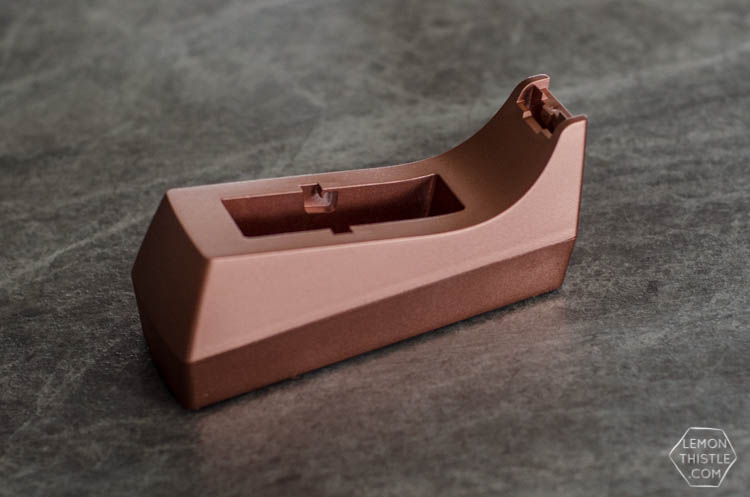
Next, spray light coats of your metallic spray paint, allowing to dry fully in between coats. I can't stress enough to take your time and do light coats, allowing it to dry in between. I'm an impatient crafter and hardly ever wait- BUT metallic paints just don't hide your mistakes as well as other paint (at least the 8 different cans I have in my basement don't!). When you're happy with the coverage, re-assemble and test it out! I had to use superglue to re attach the metal cutting edge- I have no idea how it stuck in there before!
  DIY Metallic Desk Accessories- I love this copper tape dispenser!


I'm so happy with this little update to my desk. I use tape all the time so it makes sense to have it on my desk. If you use a stapler all the time... why not try some spray paint on it? I'd love to hear if you metallic-ize anything on your desk! It's so much fun, I don't know if I can stop. I have a funky blue stapler that might be the next victim.                                                                          

                                                                                      XO Colleen


Thank you so much Colleen for guest posting! 
It's always a pleasure to have you!

And thank you all for tuning in!
Until Next time...

Tuesday, March 10, 2015

Worthwhile Wednesdays #59


Welcome, Welcome all to the 59th
Worthwhile Wednesdays Link Party!

Thank you so much for partying with me!

Monday, March 9, 2015

Broccoli Cheese Soup


Well Hello and Good Morning!

It's starting to get a little warmer, but with our recent odd Texas snow, I thought it 
was a perfect time to make my 
Broccoli Cheese Soup. 

Thankfully Broccoli Cheese Soup is 
good almost anytime of year.

So, I suppose I'll share my little 
bit of heaven with you!

Ingredients:

1/3 cup of margarine 
(stick is better) 
2 small onions
2 cloves of garlic
6 Tbsp. flour
2 cans of evaporated milk 
(12 ounce cans)
5 cups chicken broth
2 bags of frozen florets
(16 ounce bag)
1/2 cup of heavy cream
14 ounces of block sharp cheddar cheese
1 tsp of thyme or
1 tsp of Italian Seasoning
1/2 tsp of salt
1/2 tsp pepper

Preparation:

In a pot, heat the chicken broth. I cut the florets more. They will have a little bit a stems, so I cut them down to the florets. After cutting put them into the pot with broth.  Add in thyme. I use Italian seasoning because I never have thyme.
Let simmer.

In a skillet, melt your better, and add 2 small chopped onions and chopped garlic.
Cook until soft, but do not brown.

Then add 1 tablespoons at at time of flour. Stir into butter and onions. After all flour is added slowly add in 1 cup at a time of evaporated milk. Stirring in each cup vigorously.  Add salt and pepper.

Put the mixture into your pot and turn to low. Add in the shredded cheese, and stir.
When melted add in your heavy cream.

Keep on low and let simmer for about 3 hours. 
It can be less, but the longer it cooks the longer the flavors will be richer. 

Sit back and enjoy!


Thanks so much for tuning in!
Until Next Time...


Related Posts Plugin for WordPress, Blogger...