UA-59651954-28 Crafty Allie

Tuesday, March 17, 2015

Worthwhile Wednesdays #60


Welcome, Welcome all to the 60th
Worthwhile Wednesdays Link Party!

Thank you so much for partying with me!

Monday, March 16, 2015

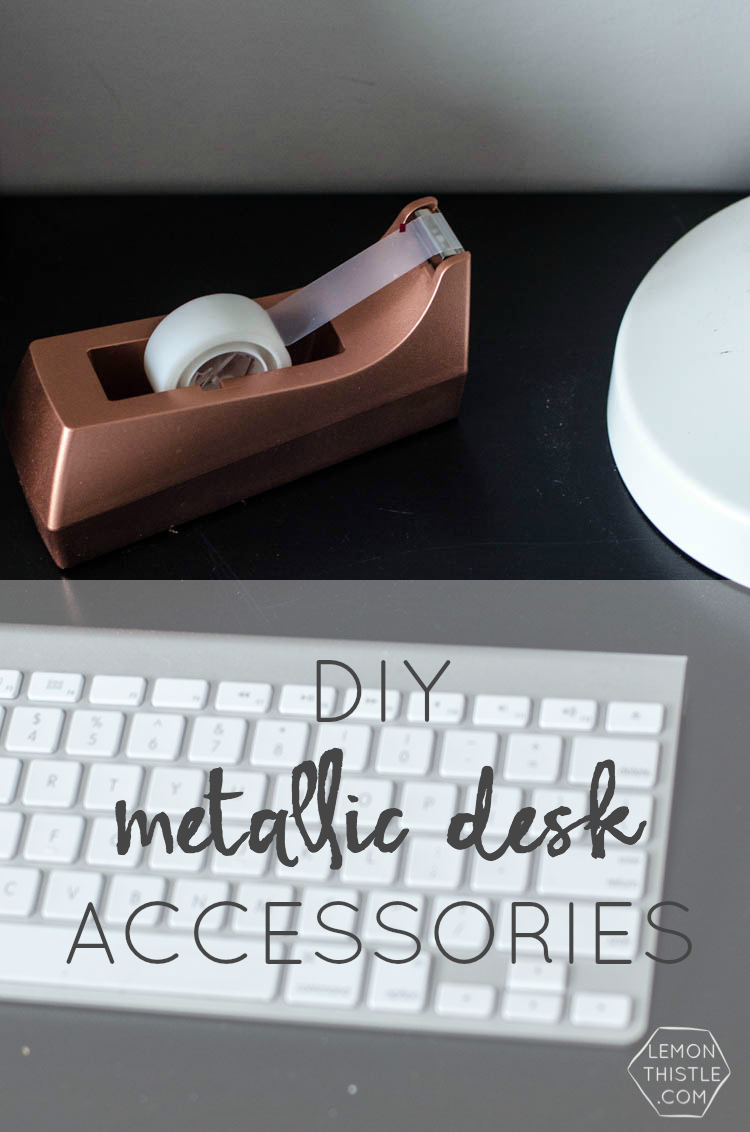
DIY Metallic Desk Accessories

Well Hello and Happy Monday!

Today, I am honored to have Colleen from 


Take it away Colleen!


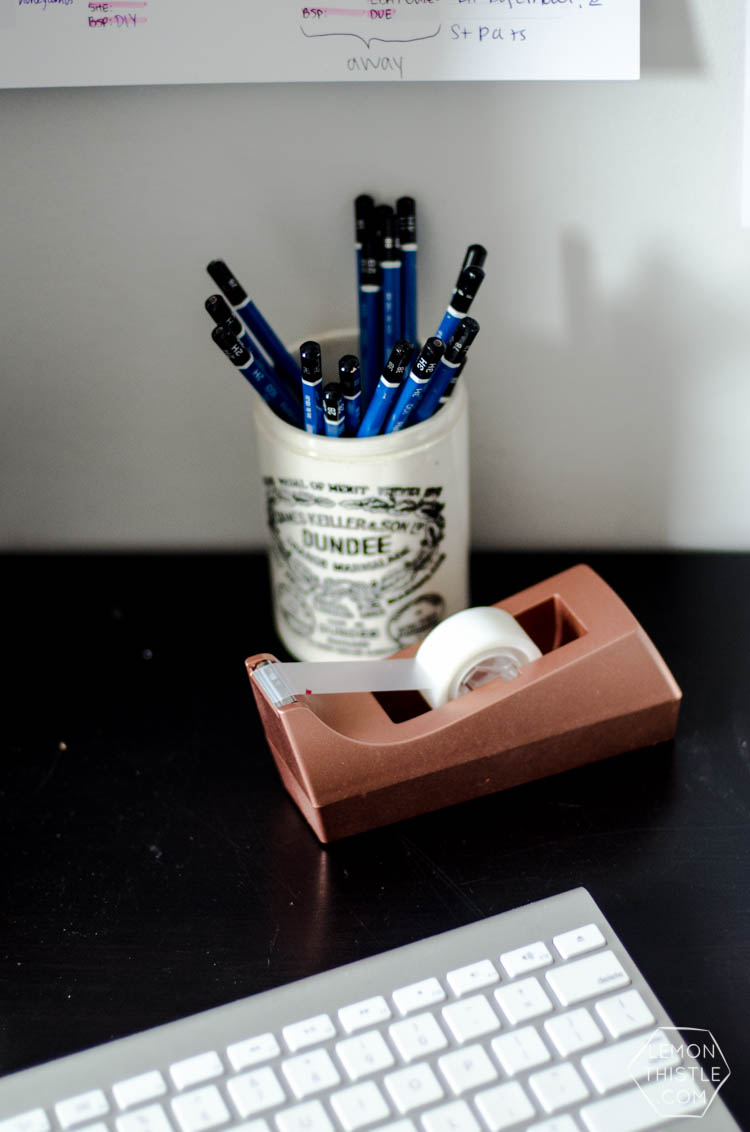
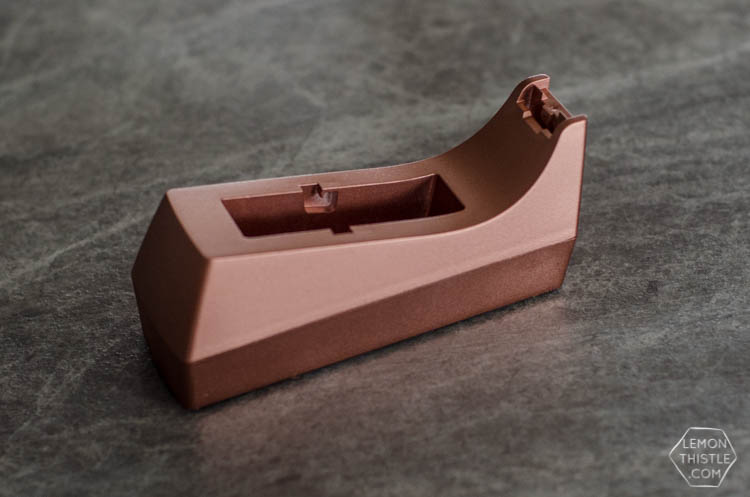
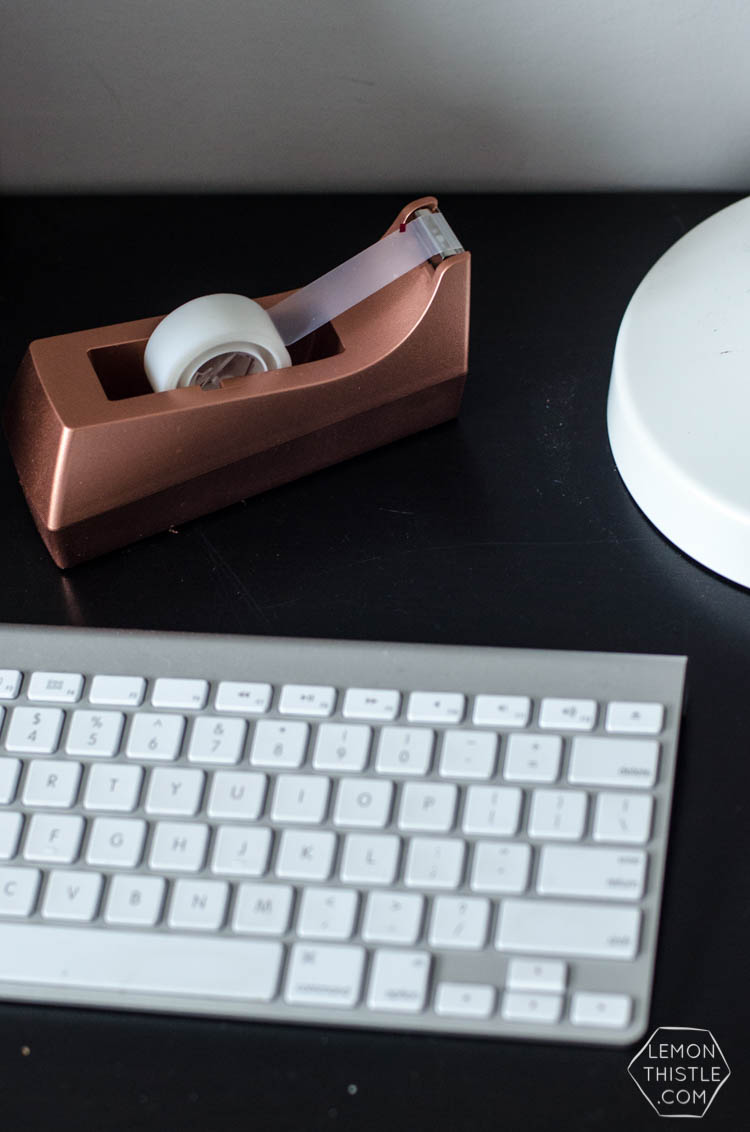
Hello Crafty Allie readers! My name is Colleen, I'm the DIY and Lifestyle blogger behind Lemon Thistle (home to DIY, Parties, Home Decor, Printables and Babies). I'm so happy to be here sharing how to DIY some metallic desk accessories to dress up your work space. I'm completely in love with my copper tape dispenser now. I never knew I could love something that just holds plain boring tape so darn much. But I do. And it fits so well in my new work space, I almost feel silly how pleased I am with this little guy!

DIY Metallic Desk Accessories- I love this copper tape dispenser!


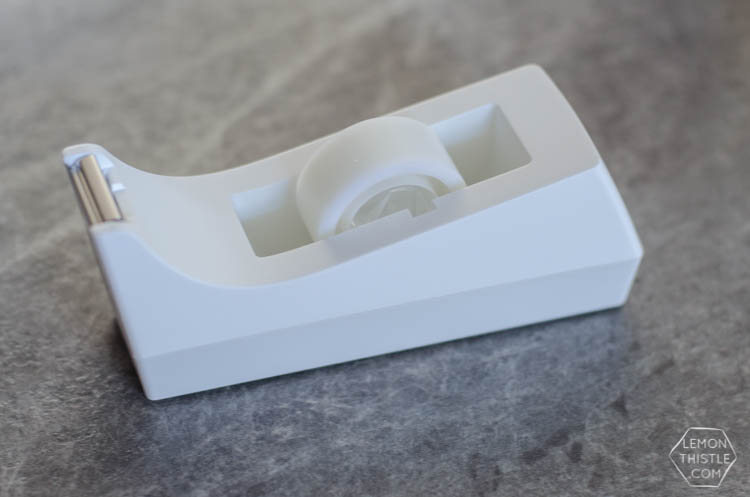
This tape dispenser actually has a bit of a funny story. I couple weeks ago, I answered the phone and my sister-in-law (the only person I personally know who loves to DIY things as much as I do) started ranting that there were no nice tape dispensers in this world. I'd never thought about it before- I always just hid it in my desk drawers. She'd been all over town looking and found nothing. She told me she was standing in the aisle at Target looking at these plain white ones and wishes they came in better colours. 'The shape is awesome, but they're so boring!'. Then she asked if I'd spray paint one for her. And if I did, she'd buy me one too. Sold! After much ribbing from her hubby ('who does things like this!?'), and a few hours of waiting for paint to dry- I have this gorgeous new tape dispenser! DIY Metallic Desk Accessories- I love this copper tape dispenser!


And it's much too pretty to relegate to the drawer, so here it sits. I guess it goes to show that you can make pretty much anything look awesome with a bit of spray paint. If you haven't picked up on the steps, here's the play by play. You'll need one tape dispenser, painters tape, spray paint.

DIY Metallic Desk Accessories- I love this copper tape dispenser!


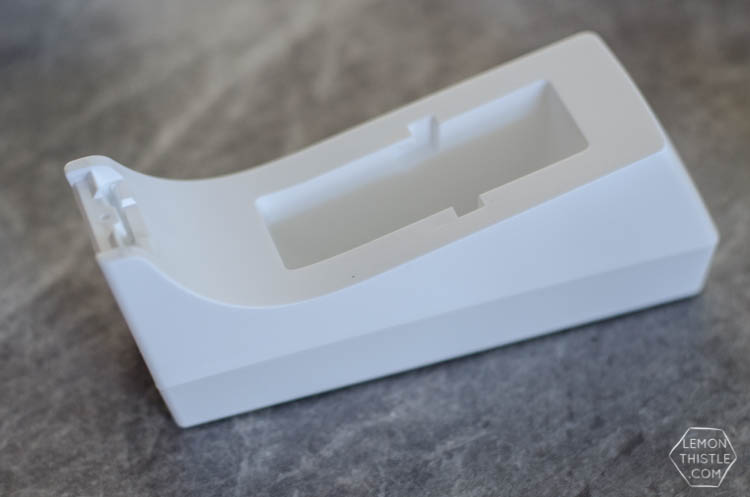
Start by either removing the pieces you'd like to keep from being coloured or carefully protecting them from the paint with tape. For me that meant the clear plastic wheel that the tape sits on and the metal cutting edge.

DIY Metallic Desk Accessories- I love this copper tape dispenser! DIY Metallic Desk Accessories- I love this copper tape dispenser!

Next, spray light coats of your metallic spray paint, allowing to dry fully in between coats. I can't stress enough to take your time and do light coats, allowing it to dry in between. I'm an impatient crafter and hardly ever wait- BUT metallic paints just don't hide your mistakes as well as other paint (at least the 8 different cans I have in my basement don't!). When you're happy with the coverage, re-assemble and test it out! I had to use superglue to re attach the metal cutting edge- I have no idea how it stuck in there before!
  DIY Metallic Desk Accessories- I love this copper tape dispenser!


I'm so happy with this little update to my desk. I use tape all the time so it makes sense to have it on my desk. If you use a stapler all the time... why not try some spray paint on it? I'd love to hear if you metallic-ize anything on your desk! It's so much fun, I don't know if I can stop. I have a funky blue stapler that might be the next victim.                                                                          

                                                                                      XO Colleen


Thank you so much Colleen for guest posting! 
It's always a pleasure to have you!

And thank you all for tuning in!
Until Next time...

Tuesday, March 10, 2015

Worthwhile Wednesdays #59


Welcome, Welcome all to the 59th
Worthwhile Wednesdays Link Party!

Thank you so much for partying with me!

Monday, March 9, 2015

Broccoli Cheese Soup


Well Hello and Good Morning!

It's starting to get a little warmer, but with our recent odd Texas snow, I thought it 
was a perfect time to make my 
Broccoli Cheese Soup. 

Thankfully Broccoli Cheese Soup is 
good almost anytime of year.

So, I suppose I'll share my little 
bit of heaven with you!

Ingredients:

1/3 cup of margarine 
(stick is better) 
2 small onions
2 cloves of garlic
6 Tbsp. flour
2 cans of evaporated milk 
(12 ounce cans)
5 cups chicken broth
2 bags of frozen florets
(16 ounce bag)
1/2 cup of heavy cream
14 ounces of block sharp cheddar cheese
1 tsp of thyme or
1 tsp of Italian Seasoning
1/2 tsp of salt
1/2 tsp pepper

Preparation:

In a pot, heat the chicken broth. I cut the florets more. They will have a little bit a stems, so I cut them down to the florets. After cutting put them into the pot with broth.  Add in thyme. I use Italian seasoning because I never have thyme.
Let simmer.

In a skillet, melt your better, and add 2 small chopped onions and chopped garlic.
Cook until soft, but do not brown.

Then add 1 tablespoons at at time of flour. Stir into butter and onions. After all flour is added slowly add in 1 cup at a time of evaporated milk. Stirring in each cup vigorously.  Add salt and pepper.

Put the mixture into your pot and turn to low. Add in the shredded cheese, and stir.
When melted add in your heavy cream.

Keep on low and let simmer for about 3 hours. 
It can be less, but the longer it cooks the longer the flavors will be richer. 

Sit back and enjoy!


Thanks so much for tuning in!
Until Next Time...


Wednesday, March 4, 2015

Pretty Bird, Pretty Pretty Bird


My daughter recently had to do a project on the Piping Plover.

She had to do research along with turn in a model of her bird. 

Oh and did I mention it has to be handmade?

I remember this all to well with my son last year when he had his project on the
Crested Caracara.


Even though that bird looks quite simple, it was quite a challenge to make.

Doesn't seem like us parents do all the work?

What's the point?

Anyway, the Piping Plover bird is so much simpler and prettier.

I simply searched for a paper bird template.
and found lots on Pinterest, but this is the one I used.
birdiepattern

You can get the graphic at MG Party Impressions.

Print your template onto card stock.

Trace your template onto your choice of
scrapbook paper.

I loved the look of this as it kind looked like feathers, and I my daughter and 
I loved the browns and blues
and the pattern.


Using some brown acrylic paint, lightly brush it onto the edges of the feathers and around the bird.

She applied the paint using a sponge brush mocking that stamped aged look.


I hand drew the feet onto card stock, 
I drew four , cut them out and glued two
 to each other back to back to make them thick 
so they can stand on their own.

Here's a mock I made if you just want to print it.

I had some maroon scrapbook paper as well that I added to the front and back of them.

Glue all the pieces together and wa-la 
a beautiful new bird for your decor, (a-hem)
or kids project.


Thumbs up for an A+,
and a high five for my new Spring Decor!


Thanks so much for tuning in!
Until Next Time...

Tuesday, March 3, 2015

Worthwhile Wednesdays #58


Welcome, Welcome all to the 58th
Worthwhile Wednesdays Link Party!

Thank you so much for partying with me!

Sunday, March 1, 2015

What to Eat?

My amazing friend Carissa is a healthy guru! 
She's had such success in her healthy meal planning, that she's put together a meal plan!

She has partnered  with the site What to Eat?
And she is doing a giveaway to promote her new site and subscription plan.

You have the chance to win a 1 year subscription plan, woo who!

I'll let her tell you more...


 I'm Carissa and I blog at Carissamiss.com. I have had amazing success since starting to eat healthy. 

My changes have cured my migraines, helped me lose weight, and improved my overall energy. I want to share how easy it is to eat healthy! 

I've worked really hard to put together a meal plan that does all the work for you and pleases the whole family so you don't have to cook two different meals for every meal. 

Keep on reading to learn more!

Me and some other fabulous bloggers want to get you excited about eating healthy!! 

Enter to win a What to Eat Daily subscription and access my 30 day meal plan for ONE YEAR! That's over $100 value! Scroll to enter
Carissa Miss: 30 Day Meal Plan with What to Eat

I've partnered with What to Eat Daily to give you easy access and planning with my menu. Simply CLICK HERE to subscribe and you'll not only have access to my menu but THOUSANDS of other great recipes. 

Here's a glimpse into what you can expect from my Menu:
Carissa Miss: 30 Day Meal Plan with What to Eat
Once you SIGN UP you'll be able to completely customize the menu and switch out days, serving sizes, and swap out individual ingredients if you want. 

You can easily load your shopping list and then head to the store.


Carissa Miss: 30 Day Meal Plan with What to EatYou can see the menu at a glance, get nutrition information for each recipe.
Carissa Miss: 30 Day Meal Plan with What to Eat
I'm working on getting photos of each recipe uploaded as well. The best part? You get access to the FREE APP that lets you do all your shopping without printing off/writing down and losing lists.

Carissa Miss: 30 Day Meal Plan with What to Eat


DON'T WAIT! I'm offering 20% off for my readers so SIGN UP and get cooking! 

2 lucky winners will get 1 year's subscription to What to Eat Daily.


Thanks so much for tuning in!
Until Next Time...
Related Posts Plugin for WordPress, Blogger...